Initializing Cloud Firestore
continuous-rater relies on Google Firebase to store and access information about subjects, ratings and stimuli. Firebase offers a generous free tier and is cost-effective to scale. To get started, click here and sign into the console with a Google account. Here’s how you get set up:
Press the Create a project button and follow the prompts until your project is initialized (I recommend the default options provided).
Open your new project and click the Develop tab in the left-side menu.
Under Develop, click Authentication and then navigate to the Sign-in method tab.
Edit the Email/Password option and toggle the top Enable switch to on. Press Save.
Back under the Develop tab, click Cloud Firestore and then click the Create database button. Change the security rules option to Start in test mode and press Next. Keep the default location, and then press Enable.
After a brief loading period, you should see your Cloud Firestore database! Start by navigating to the Rules tab right under Cloud Firestore. Copy and paste the following code over the current rules, and then press Publish.
rules_version = '2';
service cloud.firestore {
	match /databases/{database}/documents {
		match /{document=**} {
  			allow read, write: if request.auth.uid != null
		}
	}
}
Navigate back to the Data tab (directly left of Rules) within Cloud Firestore and press + Start collection. Name this collection with the name of your experiment (you will later provide this exact name to the
src/utils.jsfile). When prompted to add a document, provide ‘stimuli’ as the Document ID (IMPT: must be exact, case-sensitive). Do not provide a field. Press Save. You should now have a Firestore that looks similar to this: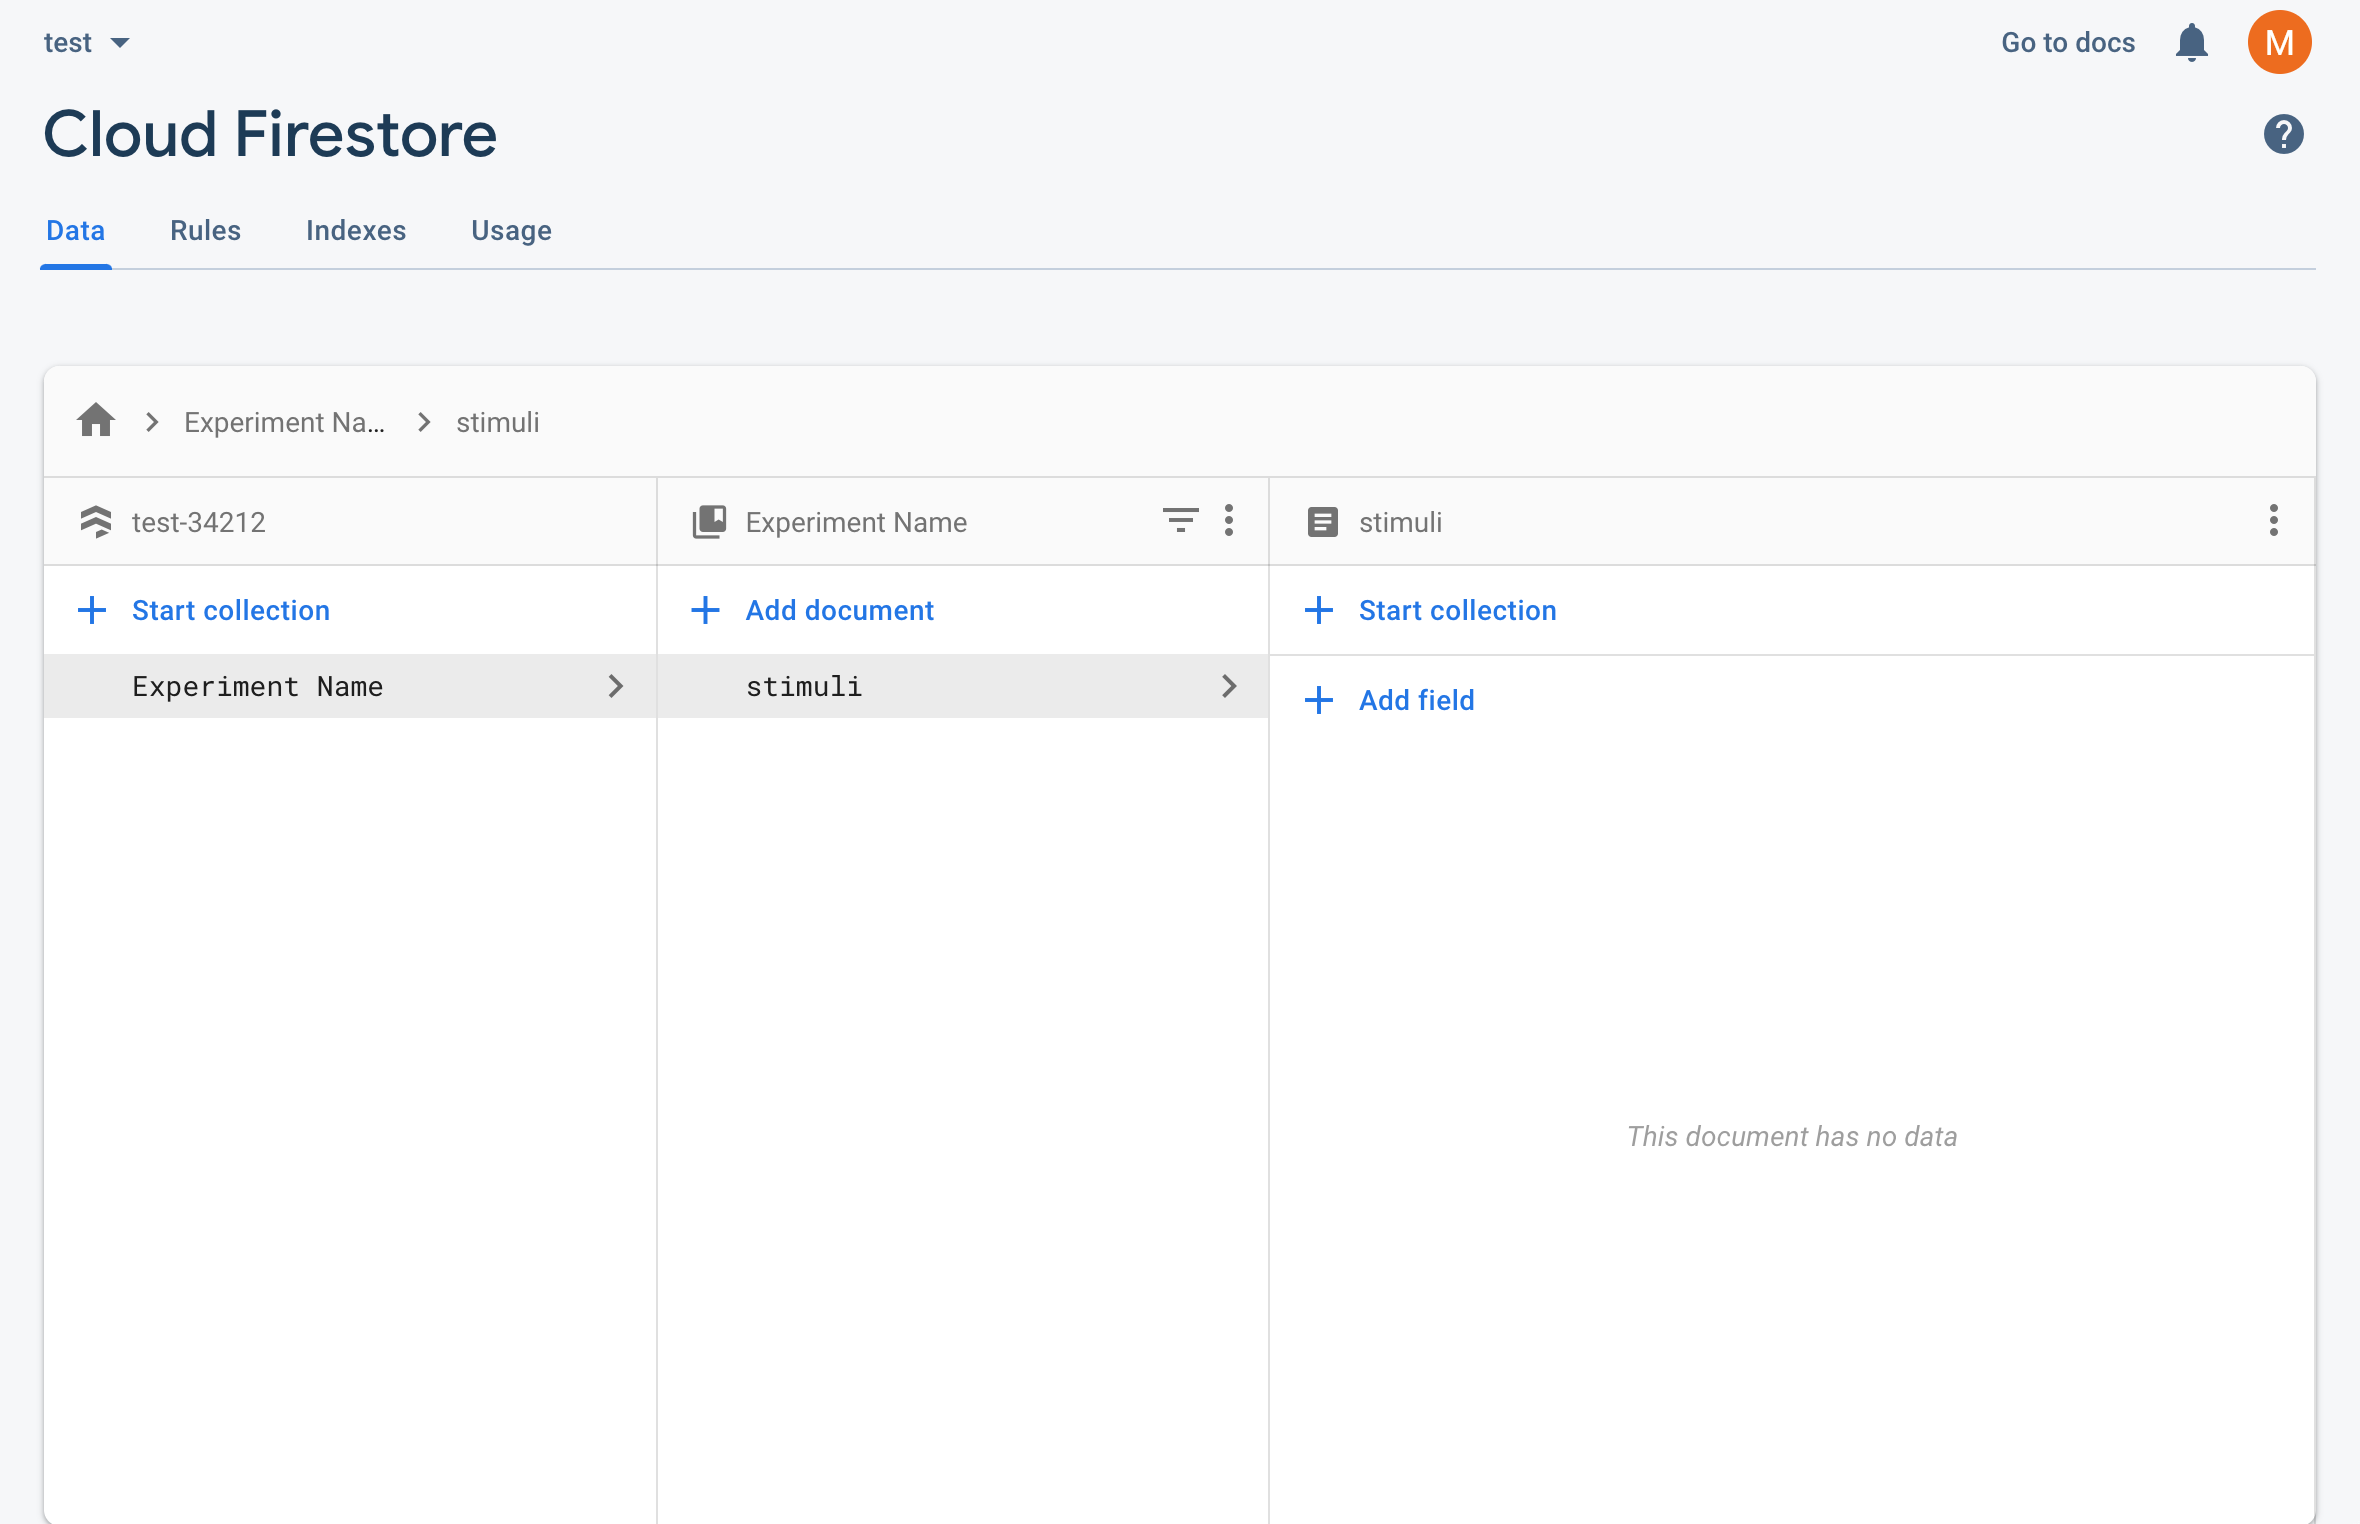
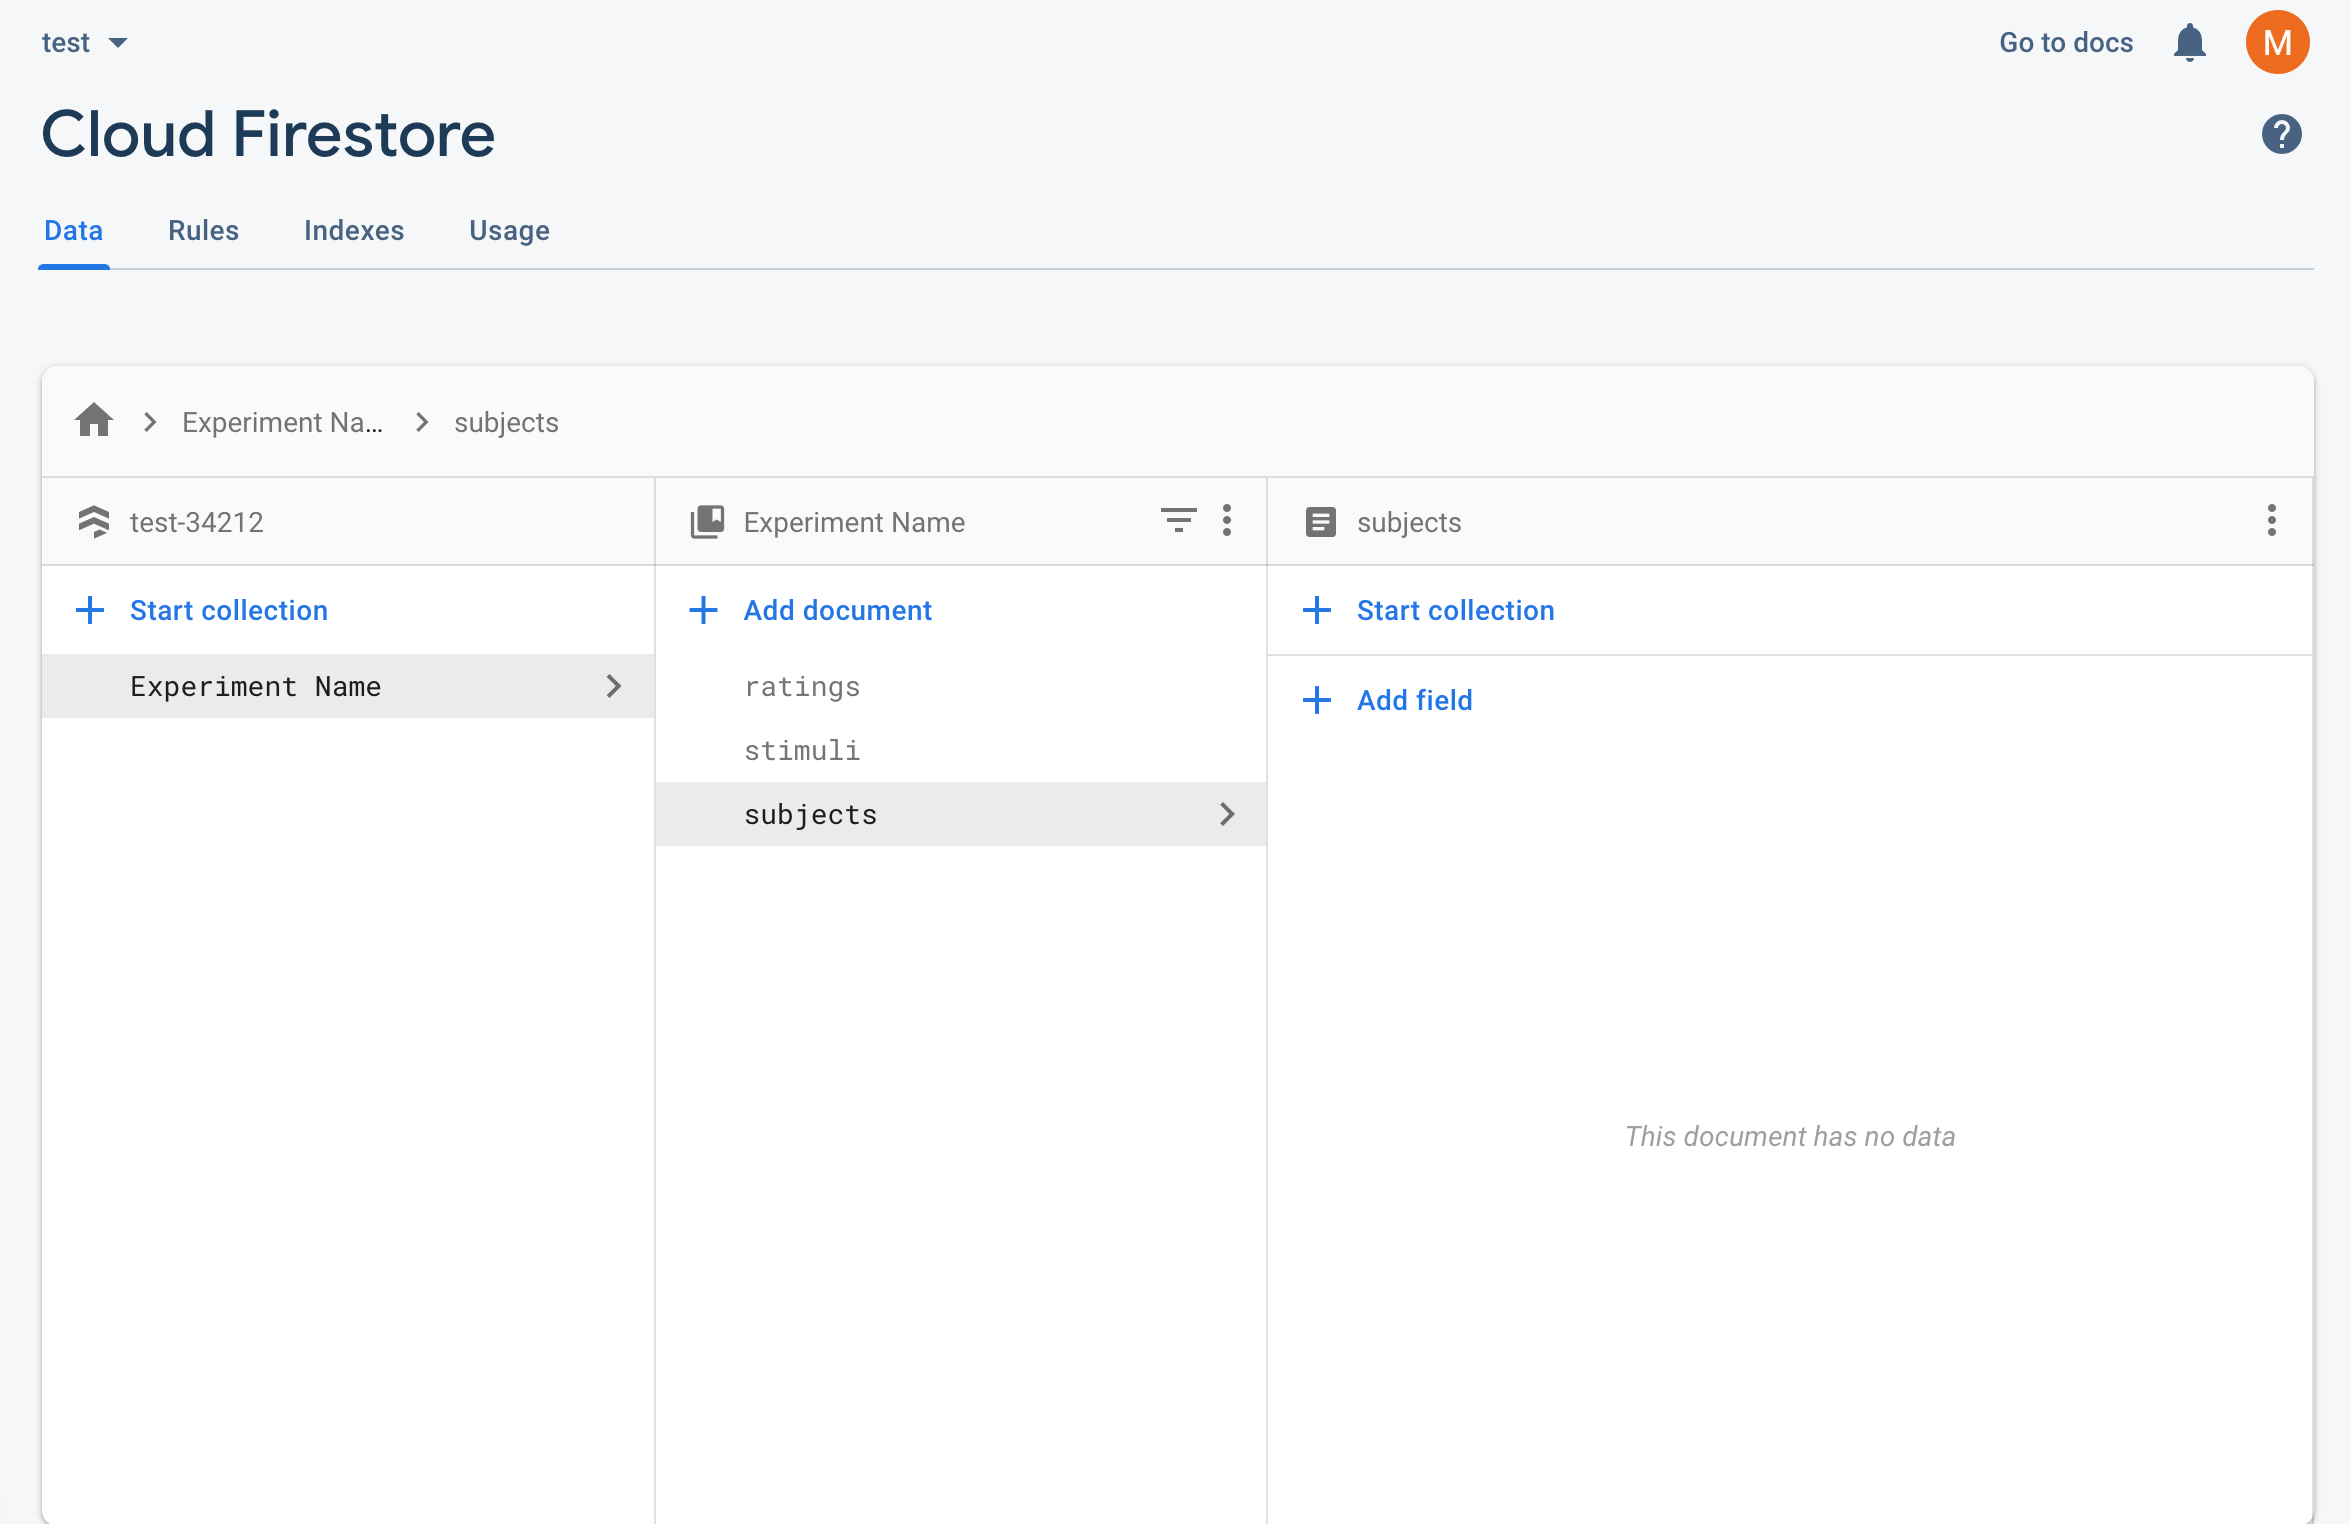
Using the + Add document button (located directly above the ‘stimuli’ document), add one document with the ID ‘ratings’ and another document with the ID ‘subjects’ (IMPT: again, must be exact, case-sensitive). Your Firestore should now look like this:
Finally, navigate to Settings by clicking the gear icon next to Project Overview in the left-hand menu, and then pressing Project settings. In the General tab, scroll down and click the blue circular HTML icon (< / >). Nickname your app with the name of your experiment, but do not add Firebase Hosting. Press Register app. When you get to Add Firebase SDK, DO NOT copy and paste the provided scripts into your app. Instead, press Continue to console. Then, under the Firebase SDK snippet, select Config (instead of CDN), and copy/paste that code snippet somewhere easy to access. You will use it later to configure the
src/utils.jsfile that connects your app to your Firebase.Once you complete these steps, your backend is set up! If you run out of read/write capacity within Firestore on the stock free plan, you can upgrade to a paid version. See details here.